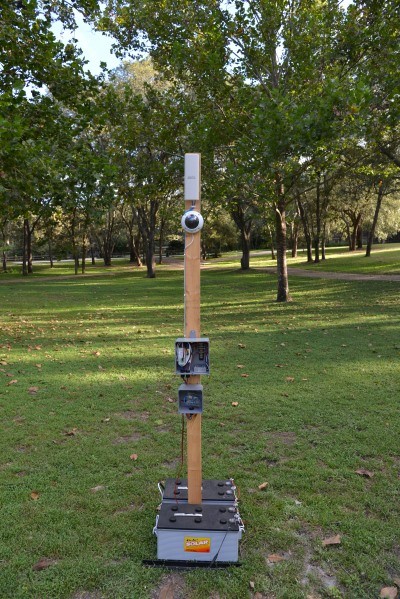
For those that haven’t seen it in person, here is a rough version of my latest project. Normally you want your cameras looking away from the house, but during the ongoing home construction project we have, I wanted a camera to be looking at the house from a distance. My plan is to grab 1 frame per hour, and then assemble them into a movie when we’re done.
For this project, I needed to make sure I had a high end IP camera, preferably one that could do a 180 degree view, and the whole project needed to be able to run on batteries, as power cords would really get in the way with heavy equipment running.
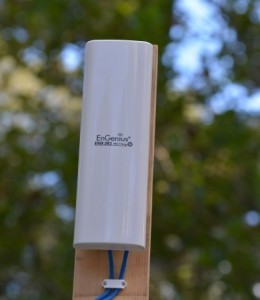
So, for networking, I picked what I could find locally, a EnGenius ENH202 N wireless bridge. It came with its own POE injector, and its well made, and is able to handle a med length run while still keeping the connection speed high.
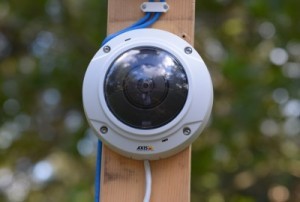
The camera of choice is an Axis M3007PV. Its 5MP, and is capable of a panoramic 180degree view, needed for this project.

Next, the boxes of all the electronics.
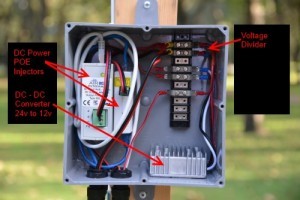
In this box you will find a power distribution terminal, 24VDC in, a 24 to 12 DC converter, since other things need 12VDC to operate, Two DC power POE injectors (the left runs from 9-36v) the right runs on 24VDC. I also have a voltage divider installed here, for use in the next item.
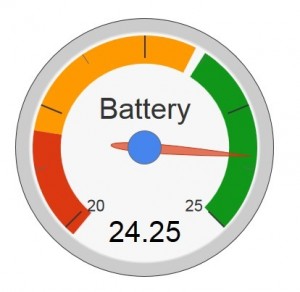
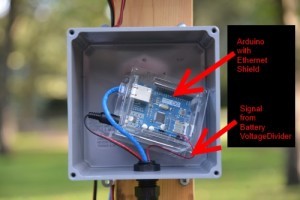
Box 2 contains a weatherproof location for an Arduino microcontroller. In this project, I wanted to be able to monitor the battery voltage. The Arduino can monitor 0-5VDC easily, and with a simple voltage divider, I can take input voltage, divide it by 11, and read about 2.2v. In software I do the math to convert it back, and boom, I’ve got 24.5ish volts.
And when I hit an internal (or external) IP, The arduino serves up a web page with battery info, including this.
